Author: SectoJoy

  • How to Compress JPG: Reduce File Size Without Losing Quality (2026)

    How to Compress JPG: Reduce File Size Without Losing Quality (2026)

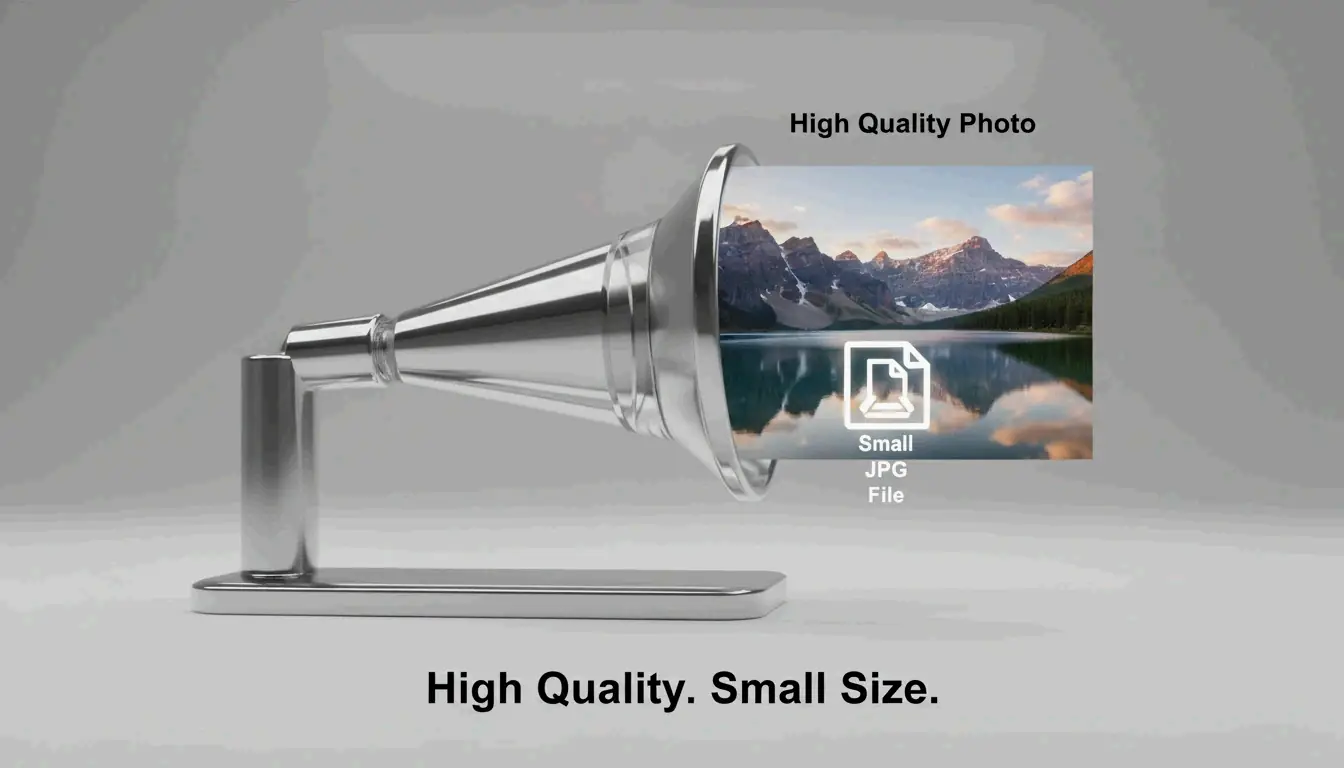
    The most effective way to compress JPG files is a two-step process: resize the image dimensions to match your display needs, then apply lossy compression at 75–85% quality. This approach can cut file sizes by up to 98% — from 5MB to 100KB — while keeping images crisp to the naked eye, according to ShortPixel.

    The “Resize Then Compress” Protocol

    If you compress a massive 5MB photo without changing its dimensions, the result is often blurry or pixelated. Professionals avoid this by tackling two variables independently:

    1. Resize — Reduce the pixel dimensions to match the actual display size
    2. Compress — Apply lossy quality reduction at 75–85%

    Why Resize First?

    If your website displays an image at 1200px wide, uploading a 4000px original wastes bandwidth on “ghost pixels” that no one sees. Resizing first lets the compression algorithm focus its power on visible data.

    ShortPixel demonstrated that a 5MB image resized then compressed drops to 100KB — a 98% reduction — while remaining visually crisp.
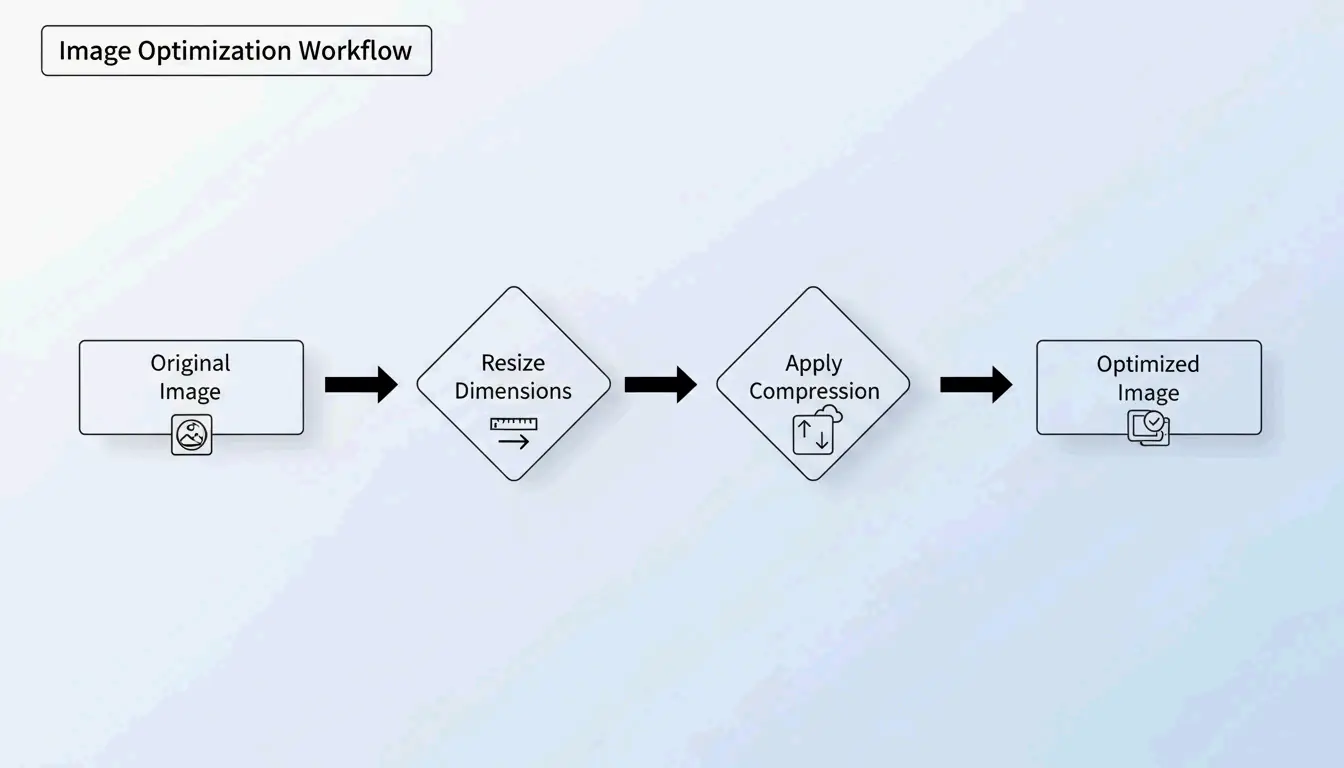
    The 2-step optimization workflow: Resize then Compress

    How Lossy Compression Works: DCT in Plain Terms

    JPG compression relies on Discrete Cosine Transform (DCT). The algorithm divides the image into 8×8 pixel blocks and converts visual data into frequency components. It then rounds off high-frequency details — subtle color variations your eyes ignore — to save space.

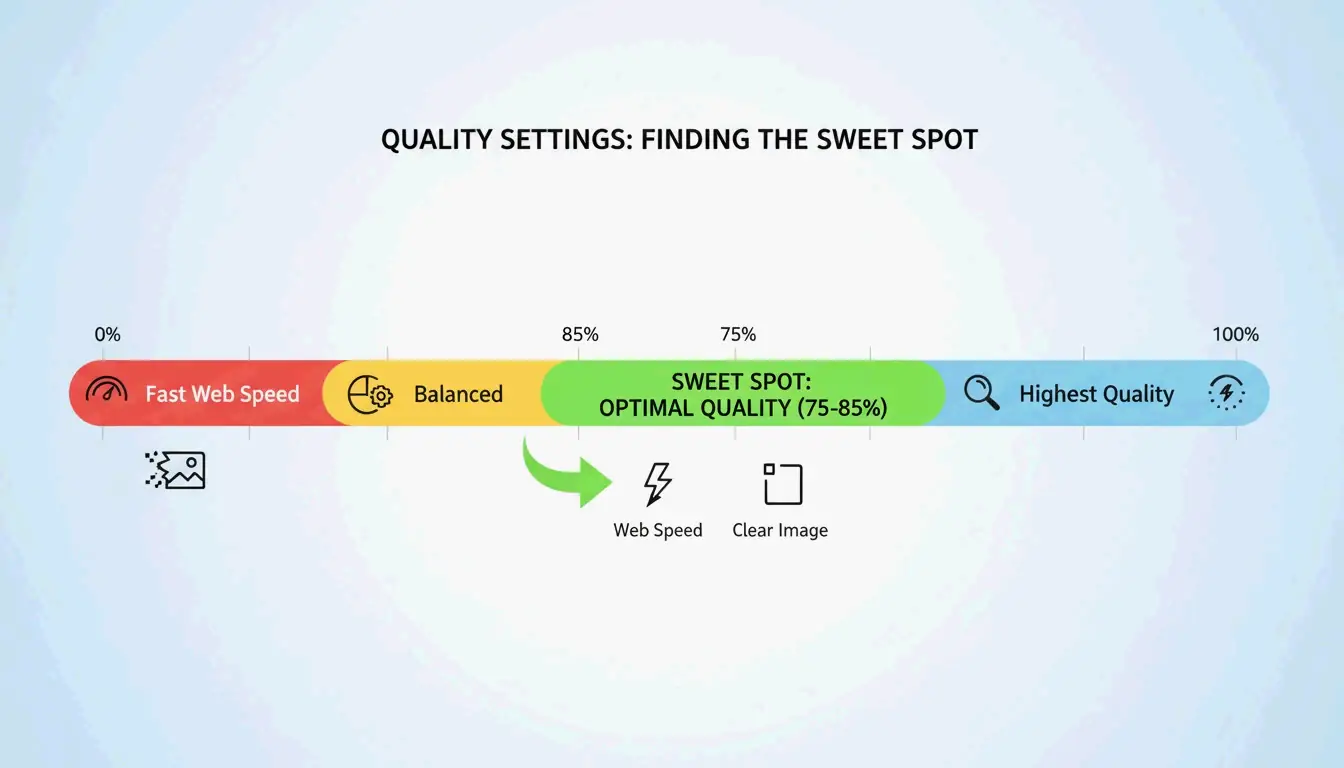
    As GWAA explains, the 75–85% quality range is the sweet spot for web use:

    Quality Setting File Size Reduction Visual Impact
    90–100% Minimal (10–20%) Virtually no visible difference
    75–85% 40–70% Barely noticeable without side-by-side comparison
    50–70% 70–85% Slight softening, acceptable for thumbnails
    30–40% 85–95% Visible artifacts, suitable only for strict upload limits

    Visual Quality vs. File Size "Sweet Spot" (75-85%)

    Best Tools to Compress JPG in 2026

    Online Tools

    Tool Best For Key Feature Privacy
    TinyIMG Shopify stores, bulk web use AI-driven, up to 98% reduction Server-side
    ShortPixel WordPress sites, developers API + plugin, batch processing Server-side
    AllImageTools Privacy-first compression Client-side processing (never uploaded) Browser-only
    GWAA Quick one-off compression No account needed Server-side

    Native Desktop Tools

    • Windows: Open the Photos app → “Resize image” → adjust quality slider
    • Mac: Open Preview → Tools → Adjust Size → reduce resolution and quality

    For Developers: ImageMagick

    Bitget Academy recommends ImageMagick for batch processing:

    
    convert input.jpg -quality 85 output.jpg
    
    # Batch process entire folder
    mogrify -quality 85 -path ./optimized/ *.jpg
    

    Strip EXIF Metadata for Extra Savings

    Every JPG contains hidden EXIF metadata — camera settings, dates, GPS coordinates. Dead weight for websites. Uncheck “Keep Exif” in your compression tool to save a few extra KB per image without changing a single pixel.

    SEO Impact: Core Web Vitals and Image Weight

    Image file size is the #1 reason sites fail the Largest Contentful Paint (LCP) test — a Core Web Vitals metric Google uses for ranking.

    • 53% of mobile users abandon sites that take more than 3 seconds to load (AllImageTools)
    • WebP and AVIF formats are 25–34% smaller than JPEG at equivalent quality (Google Developers)

    For 2026 SEO, compress JPGs to under 200KB for hero images and under 100KB for standard content images.
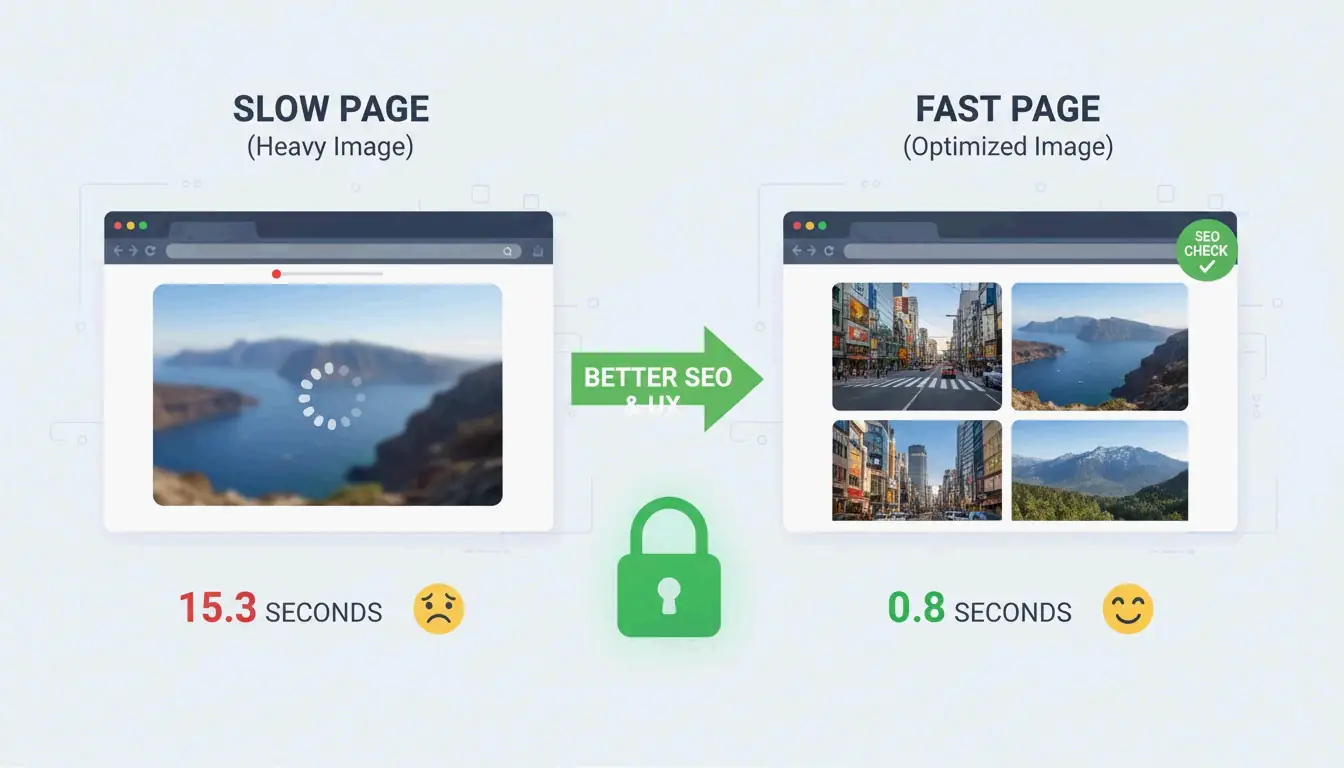
    Connection between image size and page loading speed

    Troubleshooting: When Your JPG Is Still Too Large

    If you need to hit a strict limit (e.g., 100KB for a government form):

    1. Drop the quality slider to 30–40% — You will see some noise, but the file shrinks dramatically
    2. Never re-compress a compressed JPG — This causes “generation loss,” degrading quality exponentially. Always start from the original
    3. Try AI neural compression — Tools like Nero AI and TinyIMG remove detail only where the human eye is least sensitive

    Conclusion

    Compressing JPGs effectively means resizing first, then applying 75–85% lossy compression. This two-step protocol delivers 40–98% file size reduction with minimal visible impact. For 2026, make optimization a pre-upload habit: check Google PageSpeed Insights, use ShortPixel or TinyIMG on your heaviest images, and consider switching to WebP or AVIF for additional SEO gains.

    FAQ

    Is 50 KB small enough for most web forms?

    Yes. Most government, school, and job portals set limits between 100KB and 500KB. For profile pictures, 50KB is an excellent target. For homepage hero images, stay under 200KB.

    Does compressing a JPG multiple times ruin quality?

    Yes — this causes generation loss. JPEG is lossy, so every re-compression deletes more data, creating visible artifacts. Always compress from the original high-quality file, never from an already-compressed version.

    Why use JPEG instead of PNG for photographs?

    JPEG’s lossy compression is designed for photos with millions of colors, producing files 5–10x smaller than PNG for the same photograph. PNG is lossless and better for logos, text, and images requiring transparency — but it makes photo files unnecessarily large.
  • How to Compress Image Without Losing Quality (2026): Resize, Compress, Convert

    How to Compress Image Without Losing Quality (2026): Resize, Compress, Convert

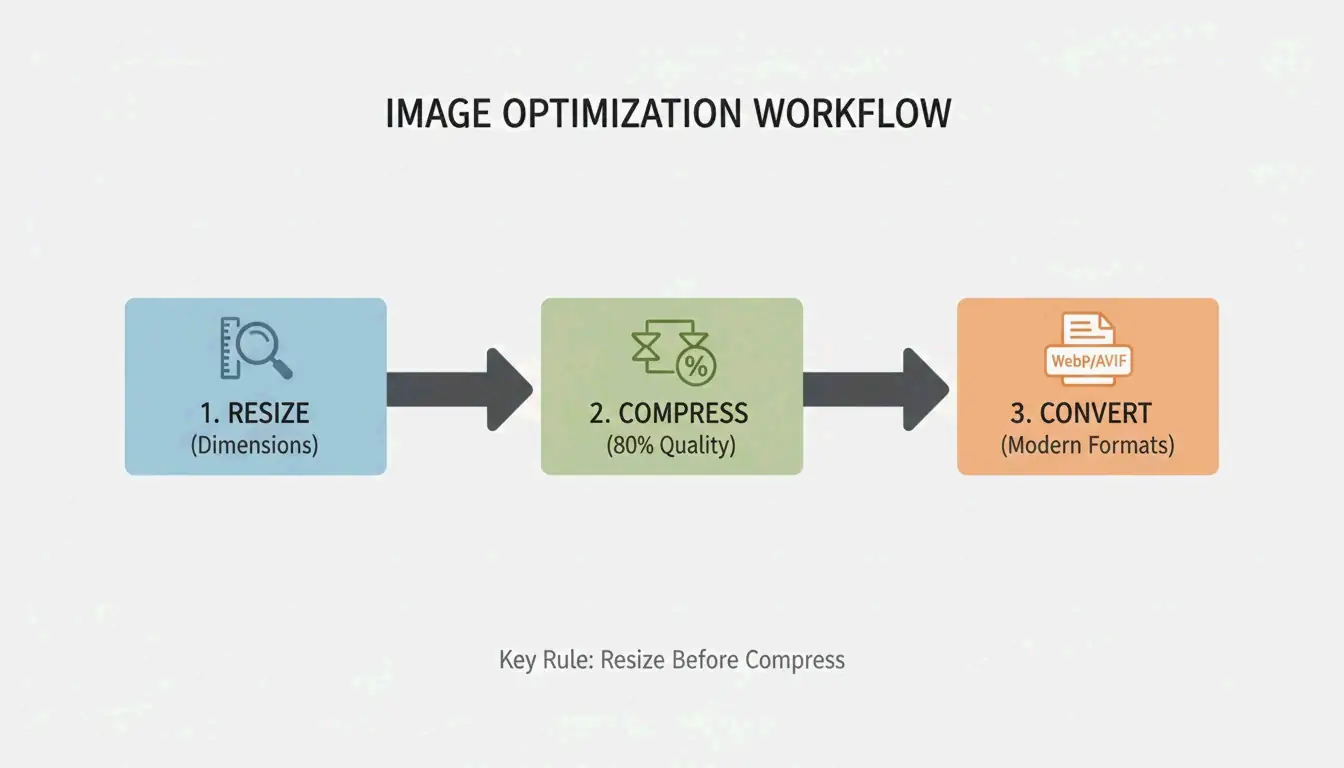
    Resize to display dimensions, compress at 75-85% quality, convert to WebP or AVIF. This 3-step workflow delivers up to 90% file size reduction with no perceptible quality loss. Here is the complete 2026 method.

    3-Step Workflow: Resize → Compress → Convert

    3-step compression workflow

    Step 1: Resize to Display Dimensions

    The largest single optimization is matching pixel dimensions to display size. Modern phones shoot 4000-6000px wide — far beyond web needs. As G Saunders demonstrates, scaling from 18,000px to 800px achieved a 99% file size reduction before any compression.

    Use Case Recommended Width Typical File Size After Resize
    Blog hero image 1200px 200-400 KB
    Product photo 800px 80-200 KB
    Thumbnail 300-400px 20-50 KB
    Social media 1080px 100-300 KB

    Step 2: Apply Lossy Compression at 75-85%

    After resizing, apply lossy compression using encoders like MozJPEG. The 75-85% quality range is the sweet spot. Per Intellure, dropping from 100% to 85% quality cuts file size by 60% with virtually no visible difference.

    Quality Setting File Size Reduction Visual Impact
    90-100% 10-20% Identical to original
    75-85% 50-70% Imperceptible to human eye
    50-70% 70-85% Slight artifacts on close inspection
    Below 50% 85%+ Visible banding and softness

    Step 3: Convert to WebP or AVIF

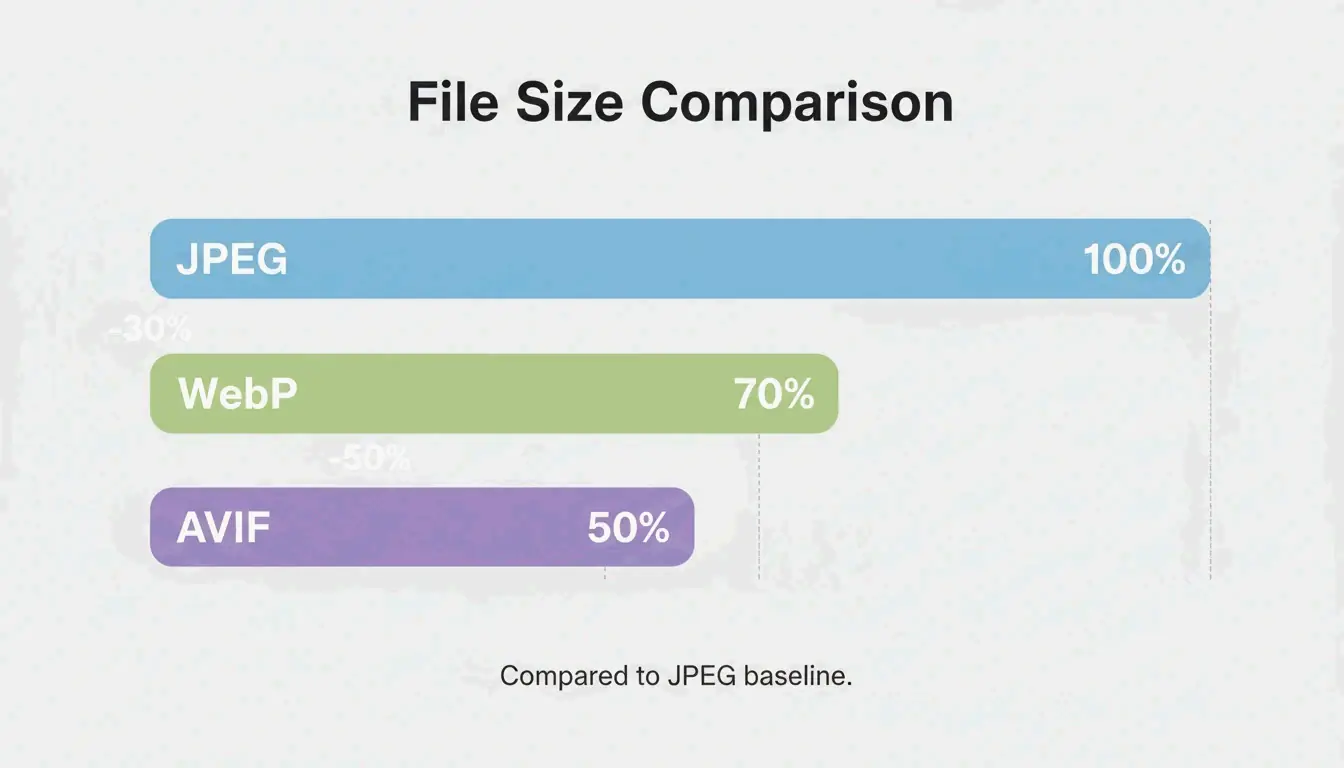
    Format comparison: JPEG vs WebP vs AVIF file sizes

    Format Size vs. JPEG Browser Support (2026) Best For
    WebP 25-34% smaller 97%+ General web use, LCP images
    AVIF Up to 50% smaller 92%+ Maximum compression
    JPEG Baseline 100% Universal fallback

    Data from Google Developers confirms WebP is 25-34% smaller than JPEG at equivalent quality. AVIF pushes further with up to 50% better compression.

    Also strip non-essential EXIF metadata (GPS, camera settings, timestamps) — saves 5-50 KB per file and protects privacy.

    Lossy vs. Lossless: When to Use Each

    Mode How It Works Savings Use For
    Lossless (PNG, OptiPNG) Preserves every pixel 5-30% Logos, icons, text screenshots, sharp edges
    Lossy (JPEG, WebP, AVIF) Removes imperceptible data 50-80% Photos, hero images, product shots

    For web photographs and complex images, lossy at 75-85% quality is the standard. For logos and text-heavy graphics, use lossless to preserve sharpness.

    SEO Impact: Core Web Vitals and LCP

    Google’s Core Web Vitals use Largest Contentful Paint (LCP) as a ranking signal. Images account for approximately 70% of all LCP elements (web.dev).

    Metric Impact
    53% of mobile users leave if load exceeds 3 seconds Bounce rate directly tied to image weight
    LCP threshold: 2.5 seconds Heavy hero images are the #1 cause of failure
    Page speed is a confirmed ranking factor Optimized images = higher search position

    Quality Verification Checklist

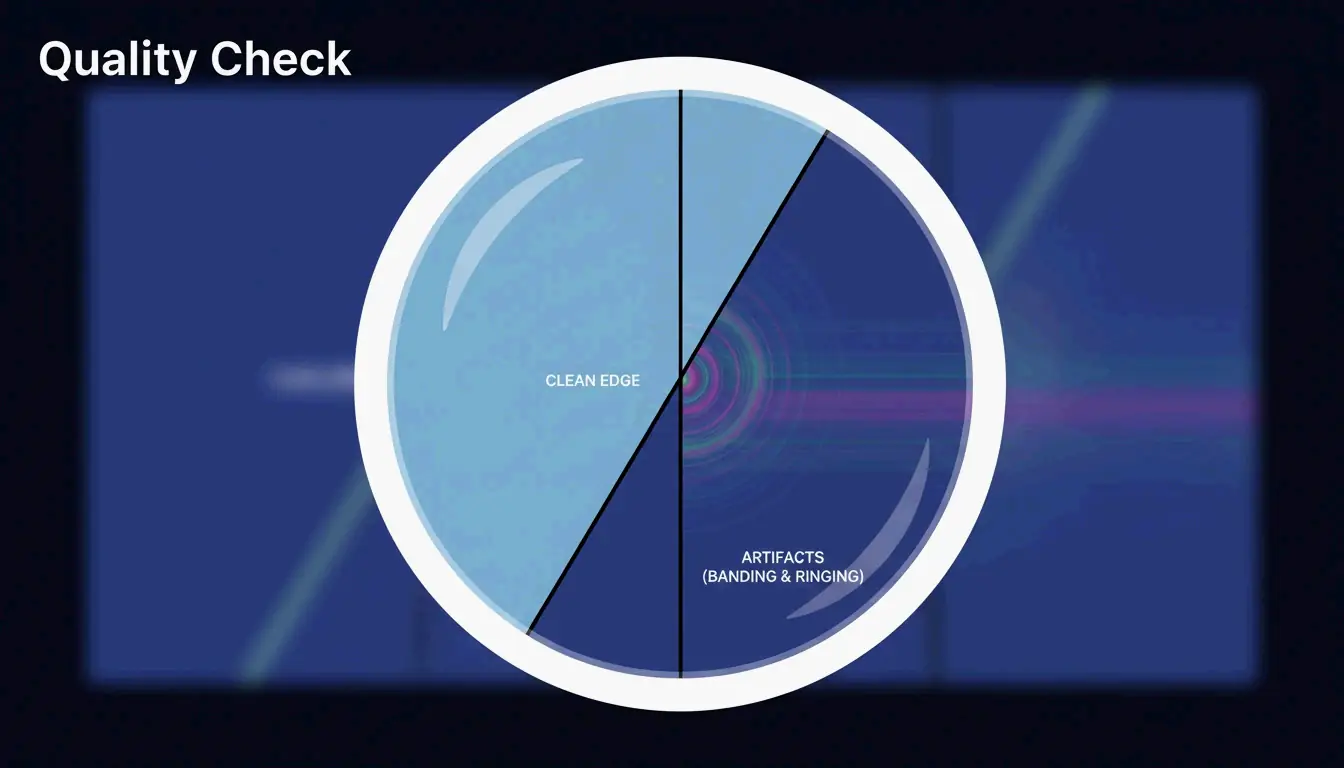
    After compression, zoom to 100% and check for three artifacts:

    Artifact What to Look For Cause
    Banding Stepped color transitions in gradients (e.g., sky) Quality set too low
    Ringing Halos around text or high-contrast edges Over-compression
    Softness Fine details (hair, fabric) turned to blur Excessive lossy reduction

    Visual quality check: focus on detail

    For privacy-conscious workflows, tools like Pixotter and SammaPix use WebAssembly (WASM) for in-browser processing — files never leave your device.

    Conclusion

    Compress images in three steps: resize to display width, apply lossy at 75-85% quality, convert to WebP or AVIF. This workflow delivers up to 90% size reduction with no visible quality loss. Audit your 10 most visited pages — convert hero images to AVIF and target under 200 KB per file.

    FAQ

    Can I compress a PNG without losing any data?

    Yes. Tools like OptiPNG and oxipng optimize the internal DEFLATE algorithm and strip metadata without altering pixels. Savings are modest (5-20%) compared to lossy methods, but pixel-perfect fidelity is preserved.

    Does image compression affect SEO rankings?

    Yes. Page speed is a confirmed Google ranking factor. Images are typically the heaviest page elements. Optimized images improve LCP scores, which directly impacts Core Web Vitals performance and search visibility.

    Is it safe to upload personal photos to online compression tools?

    Use tools with client-side WASM processing — compression happens in your browser, files never touch a server. If using a server-side tool, verify the service deletes files immediately after processing.

  • 世界,您好!

    欢迎使用 WordPress。这是您的第一篇文章。编辑或删除它,然后开始写作吧!